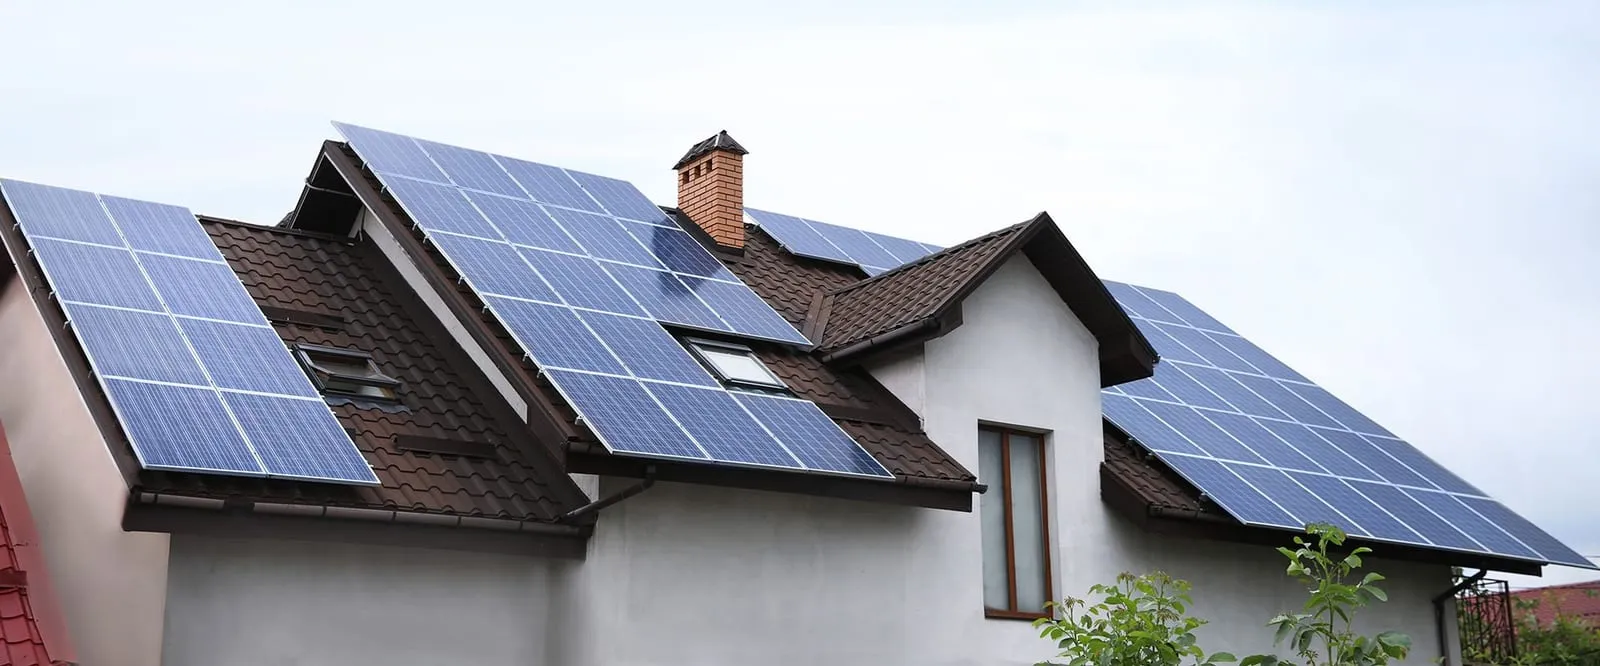
If you’ve ever heard scratching, cooing, or the unmistakable thud of a wood pigeon landing under your solar array at 6am, you already know why bird proofing exists. Pigeons and other birds love the gap between a roof and a solar panel — it’s warm, dry, sheltered from predators, and, crucially, nobody’s going to bother them up there. Left unchecked, that nesting habit can quietly cost you generation and money for years.
Why pigeons love your solar panels
Solar panels are typically mounted 30–100mm above the roof tiles on an aluminium rail system, which creates a perfect void: sheltered overhead, open at the edges, and warmed by the panel above during the day. For a nesting pigeon or jackdaw, it’s arguably better real estate than a chimney stack or a gutter. Once one pair moves in, droppings, feathers and old nesting material build up fast, and the same panels are frequently reused year after year.
This isn’t just a mess and a smell problem. Nesting debris — twigs, moss, feathers, droppings — accumulates directly on the underside of the array and around the frame edges. Over a season it can:
- Block airflow under the panels, which raises panel operating temperature. Crystalline silicon panels lose roughly 0.3–0.5% of output for every 1°C above 25°C, so poor ventilation genuinely dents yield.
- Shade the lower edge of cells with droppings and debris, which can trigger hot-spotting on the shaded cell of a string, occasionally serious enough to stress the bypass diodes over time.
- Corrode fixings and encourage moss/algae on tiles under the array, which can shorten roof felt/membrane life and complicate future maintenance.
- Block gutters immediately downslope of the array, which is one of the more common causes of roof leaks blamed — usually wrongly — on the solar installation itself.
None of this is dramatic on its own, but across a 25–30 year panel lifespan (modern N-type panels are rated for exactly that kind of longevity, degrading only around 0.4% a year if left clean and unobstructed), a persistent pigeon colony is a slow, compounding drag on the return you were promised when you had the system installed.
What actually works: mesh is the standard fix
The overwhelming standard solution across the UK solar and pest-control trade is solar panel bird mesh — a stainless steel or PVC-coated wire mesh, roughly 25mm x 25mm aperture (small enough to stop pigeons, large enough not to trap smaller birds), fitted around the entire perimeter of the array using purpose-made mesh clips that grip the panel frame without drilling or penetrating the panel itself.
A few things distinguish a proper job from a botched one:
- Full perimeter coverage. Birds will find and exploit any gap, particularly at corners and where the array meets a valley or hip. Meshing three sides and leaving the fourth “because it’s hard to reach” is the single most common reason bird proofing fails within a year.
- Clip-fixed, not adhesive or cable-tied. Purpose-made clamps that grip the existing panel frame are removable for cleaning and re-torquing, and don’t rely on silicone or tape degrading in UV and rain.
- Stainless steel mesh over cheap galvanised. Galvanised steel rusts within a few UK winters near coastal or wet regions; 316-grade stainless costs more up front but doesn’t need replacing.
- A gap check before fitting. If pigeons are already resident, a reputable installer will check for and safely remove nests and clear debris before meshing over the top — meshing in an active nest just traps birds and droppings under the panels permanently, which is neither humane nor good for airflow.
Bird spikes and gel deterrents, which work well on flat ledges and chimney stacks, are largely ineffective directly on solar arrays because they don’t address the actual attraction — the sheltered void underneath — and pigeons simply nest around them. Ultrasonic deterrents and reflective tape have similarly poor track records on pitched roofs where wind and rain reduce their effectiveness within weeks. Mesh is, by a wide margin, the only fix with a genuine multi-year track record.
DIY vs professional installation
DIY solar panel mesh kits are widely available and can be a reasonable option if you’re comfortable on a roof and your array is a simple, low-pitch, easily accessible single string. Expect to pay roughly £30–£60 per linear metre of mesh and clips bought as a kit, which for an average 10–16 panel domestic array (around 12–20 linear metres of perimeter) works out at roughly £350–£900 in materials if you’re doing it yourself.
That said, most homeowners in the UK have this done professionally, for good reason:
- Working at height on a pitched roof is genuinely dangerous, and most home insurance and warranty terms assume competent, insured tradespeople are doing roof work — not the homeowner on a borrowed ladder.
- Clips fitted incorrectly can damage panel frames or void your panel warranty. Reputable installers use clips designed not to stress the frame or crack the anodised coating, which matters over 25+ years of thermal cycling.
- A professional will also check your MCS-compliant installation for anything mesh might interact with — cable runs, micro-inverters mounted under panels, optimisers — before clipping mesh over the top of live electrical components.
Professional bird proofing for a typical domestic rooftop array in the UK generally runs £300–£700 fully fitted, including scaffold-free roof access via ladders/roof ladders for straightforward bungalow or two-storey semis, rising to £700–£1,200+ where scaffolding, steep pitches, or an active infestation needing careful nest clearance are involved. Commercial and larger arrays scale up from there, usually priced per linear metre or per panel run.
If your installer offers this as an add-on at the point of installation — increasingly common practice — it’s worth taking, since the mesh can be fitted at the same time as the racking, before scaffolding comes down, at a fraction of the cost of a separate callout later. If you’re only now noticing droppings and debris on an existing system, ccsheatingandrenewables.com and other renewable heating and solar specialists in the South West routinely handle retrofit mesh jobs on established arrays, and it’s the kind of maintenance task worth asking your original installer or a local specialist like Yorkshire’s YEERS about directly, since they’ll already know your roof type and racking system.
Why this protects your yield, not just your roof
It’s easy to file bird proofing under “nice to have” cosmetic maintenance, but the yield argument is the one that actually matters financially. A well-installed domestic system generating the UK average of roughly 850 kWh per kWp per year (higher in the sunnier south, per irradiance data) is producing electricity you’re either using directly at around 25p/kWh of avoided import, or exporting under a Smart Export Guarantee tariff typically worth somewhere in the 12–20p/kWh range depending on supplier. Persistent shading from droppings and nesting debris on even two or three cells in a string can measurably clip output from that string for months at a time, and repeated hot-spotting from shaded cells is one of the more preventable causes of premature inverter or optimiser faults.
Put simply: the entire economic case for solar — the 0% VAT relief currently in place on residential solar and battery installations in Great Britain until 31 March 2027, the avoided import costs, the export income — depends on the array actually generating at its rated output for its full 25–30 year design life. A £400–£700 mesh job protects that output for a fraction of one year’s electricity savings on an average system, and unlike an inverter replacement (typically £500–£1,000 once every 10–15 years), it’s genuinely a fit-once-and-forget job if done properly with stainless clips.
When to get it checked
A few signs it’s worth booking a mesh inspection or installation sooner rather than later:
- You can hear birds under the panels, especially persistent cooing or scratching at dawn.
- You notice droppings streaking down roof tiles below the array, or debris in the gutter directly downslope.
- Your generation monitoring (via your inverter app or a service like those most UK MCS installers set up at commissioning) shows an unexplained dip on one string versus the others.
- Your system is more than 2–3 years old and has never had mesh fitted — birds tend to find unmeshed arrays eventually, not immediately.
If you’re planning a new installation, ask your installer to quote bird mesh alongside the racking rather than treating it as an afterthought — installers such as ElectriFusion Solutions in South Yorkshire, Ecoaim in Central Scotland, and Greenlinc Renewables in Lincolnshire commonly include or offer it as a low-cost add-on at point of install, which avoids a second roof-access callout down the line. On the commercial side, the same principle scales up considerably — bird ingress under large-format arrays on warehouse roofs and factory installations is a well-known maintenance headache given the much larger perimeter and harder-to-inspect roof areas, and it’s usually cheaper to spec mesh into the original install than retrofit it across a full commercial roof later.
For a wider look at what actually affects panel output and longevity day to day, our own guide on solar panel maintenance in the UK covers cleaning schedules and inverter checks alongside pest proofing, and if you’re still weighing up whether solar makes financial sense for your roof at all, thecostofsolar.co.uk’s breakdown of UK installation costs is a good sense check on current pricing before you get quotes.
Bird proofing isn’t glamorous, and it’s rarely the thing homeowners think to ask about when they’re comparing panel brands and inverter warranties. But of all the maintenance jobs that protect a solar investment over 25-plus years, it’s one of the cheapest, most permanent, and most commonly skipped — which is exactly why it’s worth sorting before the pigeons get there first.