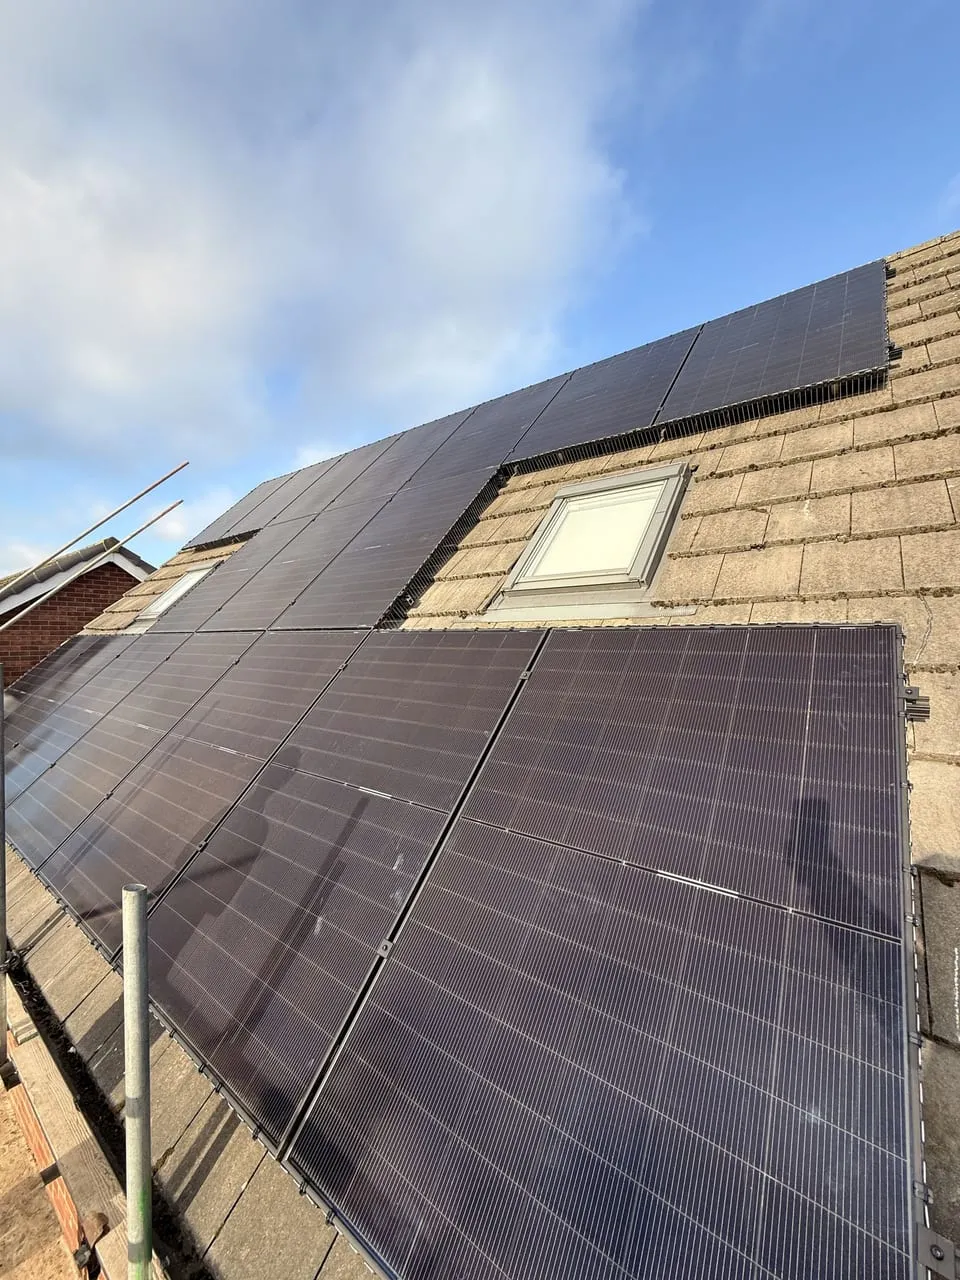
Most homeowners researching solar panels focus entirely on picking the right installer and negotiating a fair price, then give almost no thought to what actually happens on the day the vans turn up. That’s a mistake, because installation day is where you find out whether the quote you signed matches the crew you got — and it’s your last real chance to catch a problem before it’s bolted to your roof. Here’s what a typical UK residential solar install actually looks like, hour by hour, and what to ask before anyone drives away.
Before the van arrives: scaffolding and prep
For most homes, installation day isn’t really day one. Scaffolding usually goes up 24-48 hours beforehand, either by the installer’s own team or a subcontracted scaffolding firm. This matters for two reasons. First, it’s a genuine safety requirement under UK working-at-height regulations — a reputable installer will not send fitters onto a pitched roof without proper edge protection, and if a company offers to skip scaffolding to save money, that’s a red flag, not a bargain. Second, it gives you an early look at how organised the outfit is. Scaffolders who turn up on time, protect your drive and garden beds, and leave the site tidy are usually a decent proxy for how the main install team will behave.
If you’re comparing quotes at this stage rather than already booked in, it’s worth checking whether scaffolding is included in the headline price or billed separately — it’s a surprisingly common place for quotes to diverge, and one reason a genuinely useful solar panel cost breakdown will itemise it rather than bury it in a single “supply and install” figure.
Hour 0-1: arrival, briefing, and the walk-round
A professional crew — typically two to four MCS-certified installers for a domestic job — will arrive with a loaded van, introduce themselves, and do a walk-round with you before touching anything. This is when they confirm the layout against the design you signed off: panel positions, cable routes, where the inverter and battery (if you’re having one) will sit, and where the new consumer unit connection goes. It’s also when they’ll point out the isolation switches they’re about to fit and roughly where the meter cupboard work will happen.
Ask at this point to see the actual panels and inverter model numbers against your quote. Substitutions happen — sometimes for good reasons (stock issues), sometimes because a cheaper panel got swapped in post-sale. You’re entitled to know before it goes on the roof, not after.
Hour 1-3: the roof work
This is the part everyone pictures: panels going up. In practice it starts with mounting — aluminium rails fixed through the roof tiles or slates into the rafters using flashed brackets designed to keep the roof watertight. Good installers use a torque wrench on every bracket and photograph the rafter fixings before the tiles go back over them, because those photos are your only record of what’s under the roof once it’s covered again. If your installer doesn’t offer to show you these photos afterwards, ask for them — you’ll want them if you ever sell the house or need a repair.
Once the rails are secured, the panels themselves usually go up quickly — a 10-panel residential array (roughly 4kW) can often be mounted and wired in under two hours by an experienced two-person team, weather permitting. Cabling runs from each panel down to a junction point, then through the roof space and down an external or internal route to the inverter location. This is the stage where workmanship really separates competent installers from corner-cutters: cable runs should be clipped, protected from UV where exposed, and kept clear of edges where they could chafe.
For a sense of typical scale and cost at this point in the process, thecostofsolar.co.uk’s guide to solar battery storage costs is useful if you’re having a battery fitted alongside the panels on the same day, since battery installs usually run in parallel with the roof work rather than after it.
Hour 3-5: inverter, battery, and electrical first fix
While one or two fitters are still finishing the roof, an electrician on the team (or the same installers, if they’re multi-skilled, which most MCS-certified crews are) will be mounting the inverter — normally in a garage, loft, or utility space, ideally somewhere cool and ventilated, since heat shortens inverter life. If you’re having a battery, this is when it’s wall-mounted nearby. A Tesla Powerwall 3 or similar 13.5kWh unit takes a reasonable chunk of wall space and its own dedicated wiring back to the consumer unit.
This is also when the new isolation switches, AC/DC disconnects, and any consumer unit changes happen. If your existing consumer unit is old or doesn’t have spare ways, expect this to take longer, and expect it to have been flagged at the quote stage — if it wasn’t, ask why now.
It’s worth noting solar and battery installs on a residential property currently attract 0% VAT in Great Britain (in place until 31 March 2027), so if you see VAT added to labour on the day’s paperwork, query it immediately.
Hour 5-6: commissioning and testing
Once everything’s connected, the installer runs a commissioning sequence: checking string voltages, insulation resistance testing, earth continuity, and confirming the inverter is exporting correctly. They’ll power the system up and you should see live generation data appear — genuinely one of the more satisfying moments of the day, watching the app tick over even on a cloudy afternoon.
This is also when any battery is paired with the inverter and its charge/discharge settings configured. Ask them to talk you through the app or monitoring portal before they leave — don’t just nod along. You want to understand, specifically, how to check daily generation, how to see if the battery is charging from solar versus grid, and who to call if the app shows an error.
Hour 6-7: paperwork, sign-off, and site clean-up
The last hour is administrative but arguably the most important for your long-term protection. A proper installer will:
- Complete and hand over (or confirm they’ll email within a few days) your MCS certificate — you need this for Smart Export Guarantee eligibility, and without it you can’t get paid for exported electricity at all
- Provide an electrical installation certificate for the work under Part P
- Register the installation with your District Network Operator (DNO), which for most domestic systems under 3.68kW per phase is a straightforward notification, though larger systems may need prior approval that should have happened before install day, not after
- Leave you with a system schematic or as-built drawing showing what’s actually installed, which matters if a future electrician or surveyor needs to understand the setup
- Sweep up, remove packaging, and check your loft space and garden are as they found them (minus the scaffolding, which typically comes down within a few days)
Scaffolding removal is usually scheduled separately, so don’t be alarmed if it’s still up when the installers leave — but do get a date for when it’s coming down, particularly if you’ve got young children or the poles are blocking access.
What to actually ask before they leave
A few questions worth asking on the day, not weeks later when you’ve forgotten:
- “Can I see the roof fixing photos?” — proof of what’s under the tiles, useful for insurance and resale.
- “What’s my system’s expected annual generation?” — a rough benchmark (a well-sited 4kW system in the south of England might produce around 3,400-4,000 kWh/year, based on typical UK yields of roughly 850-1,050 kWh per kWp) so you know if something’s underperforming six months from now.
- “When will I get my MCS certificate and EIC?” — get a specific date, not “soon.”
- “What’s covered under warranty, and for how long?” — panels, inverter, and workmanship warranties are usually separate documents with different terms and different companies standing behind them.
- “Who do I call if the inverter shows a fault?” — get a direct number, not just a general office line.
- “Has the DNO been notified?” — this should already be done, but confirm it verbally.
If any answer is vague, that’s worth following up in writing before you release final payment.
Regional realities
The mechanics above are fairly consistent nationally, but weather windows and crew availability vary. Installers in Doncaster and South Yorkshire or across Central Scotland often build in more buffer days over autumn and winter for scaffolding and roof work, simply because rain delays are more frequent. Installers working the Hampshire coast or through Lincolnshire — sorry, greenlincrenewables.co.uk — tend to have slightly wider install windows through spring and summer. None of this should change what happens on the day itself, just how far in advance you’re booked and how much slack is built into the schedule either side of it.
If you’re still comparing quotes and haven’t reached install-day stage yet, it’s worth reading up on how solar panels actually perform in the UK climate and understanding realistic payback periods before you commit, so the numbers you’re told on install day match what you were expecting rather than surprising you either way.
The bottom line
A domestic solar installation is, in the vast majority of cases, genuinely a one-day job — scaffolding aside — running roughly six to eight hours depending on system size, roof complexity, and whether a battery’s going in alongside the panels. The work itself follows a predictable sequence: mounting, wiring, inverter and battery fitting, commissioning, and paperwork. What varies enormously between installers isn’t the sequence, it’s the diligence — whether rafter fixings get photographed, whether cable runs are properly clipped and protected, whether you’re actually walked through the monitoring app rather than handed a leaflet, and whether your MCS certificate turns up when promised. Ask the six questions above before the van pulls away, and you’ll know within the hour whether you got a careful installer or just a fast one.